

Let's open last weeks image. I'm using Photoshop CS4 but you can also use Photoshop Elements.
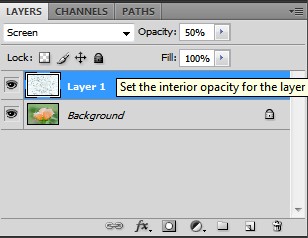 I'll be using some textures I downloaded free from the internet. There are thousands out there and I love to have several to choose from. I keep them in a seperate file called textures so they are easy to find. I'll be using two today. The first one is called Aqueous_sun_textures_v2_027. It looks like a water splattered pattern. Now let's simply add it over my rose as another layer and set the layer style as screen with the opacity to 50%. You'll probably need to transform the texture so it fits all the way over the rose layer using the transform tool. Sometimes I'll even make it bigger then the layer underneath if I want to use just a portion of the texture. Ok now that we have the texture above the rose, we'll need to mask out the part that is over the rose. You may want to leave it over the rose but for this print I want to elemenate it so that the rose stands out.
Select a round brush with the hardness set to about 65%. I'm sure you'll want to adjust this as you go along the edge. The opacity should be set to 100? Using the black paint on the texture mask will hide the texture over the rose. If you make a mistake, don't fret over it because switching to white paint will bring it back. You may even try using a shade of grey to leave just a little bit in.
The texture looks good but I want to add another so over the top of this texture layer I'm adding another texture called aqueous_sun_textures_v2_023. This layer style is set at Pin Light and the opacity is set to just 35%. Then I did the same masking on this layer. This is how my layers palette looks now.

One more thing...make sure you save your file before you flatten it. Then save it again as a finished print. That way you will always have a working file just in case you find you want to change something.
Have fun!


No comments:
Post a Comment